

The Ultimate Guide to Healthy Homemade Oat Dog Cookies
Table of Contents
For pet owners seeking a nutritious alternative to commercial treats, this oat dog cookies recipe delivers the perfect solution. Our detailed dog biscuit recipe transforms simple ingredients into wholesome rewards that serve both as healthy snacks and effective training tools. This guide demonstrates how making preservative-free, natural pet treats can be both cost-effective and beneficial for your canine companion.
The Benefits of Healthy Oat Dog Cookies
Modern pet nutrition emphasizes the importance of natural ingredients. This Homemade Oat Dog Cookies healthy approach provides complete control over ingredients while ensuring maximum nutritional benefits. By following our detailed dog biscuit recipe, you’ll create treats that support your pet’s overall wellbeing without artificial additives.
Core Ingredients for Nutritious Results
Our oat dog cookies recipe utilizes four primary components:
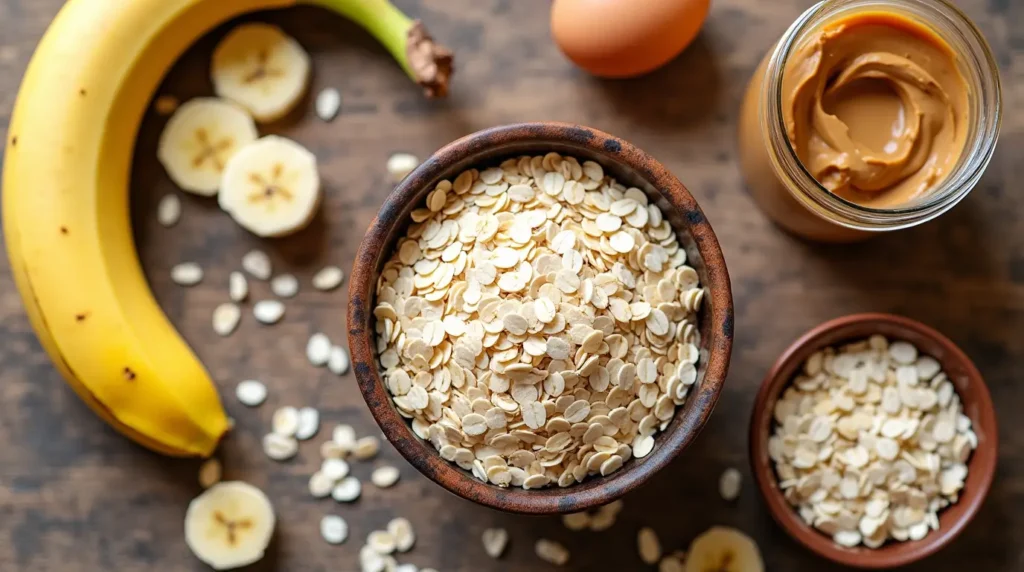
- Oatmeal: Foundation for fiber and essential nutrients
- Natural peanut butter: Protein-rich flavor enhancer
- Ripe banana: Natural sweetener with vital vitamins
- Fresh egg: Binding agent with additional protein
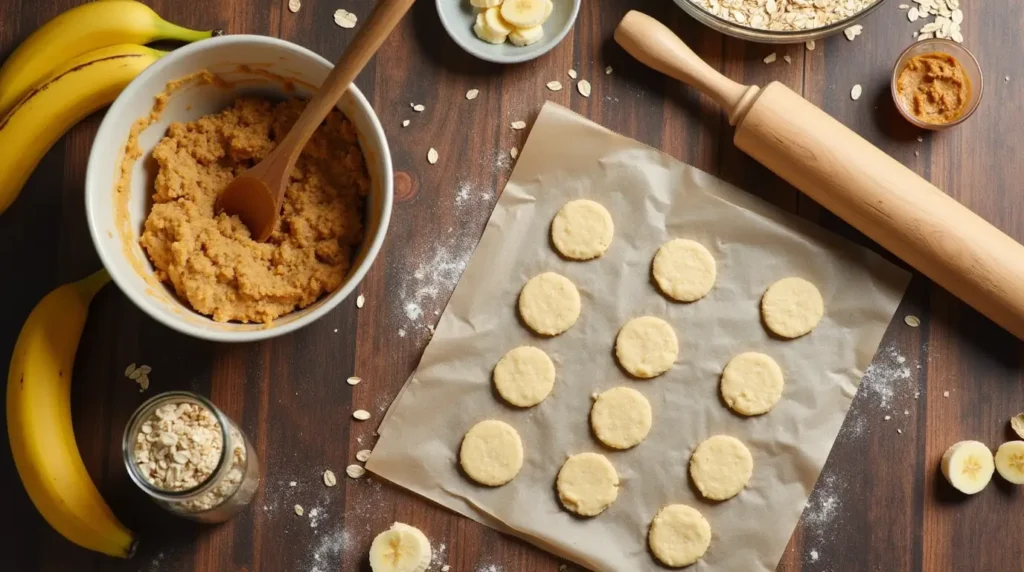
Professional Preparation Guide
Creating these homemade dog biscuits requires attention to detail and proper technique.
Equipment Needed
- Large mixing bowl
- Measuring cups and spoons
- Baking sheet
- Parchment paper
- Rolling pin
- Cookie cutter or knife
Recipe Instructions
- Preheat your oven to 350°F (175°C) and line a baking sheet with parchment paper.
- Process the oats into a coarse flour using a food processor or blender.
- In a large bowl, mash the ripe banana until smooth.
- Add natural peanut butter and the egg, mixing thoroughly.
- Gradually incorporate the oat flour until a workable dough forms.
- Roll the dough to approximately 1/4-inch thickness on a lightly floured surface.
- Cut into desired shapes using cookie cutters or a knife.
- Place cookies on the prepared baking sheet, spacing them slightly apart.
- Bake for 15-18 minutes until edges are lightly golden.
- Allow to cool completely before serving.
Storage and Shelf Life
These homemade treats typically maintain freshness for:
- Room temperature: 5-7 days in an airtight container
- Refrigerated: Up to 2 weeks
- Frozen: Up to 3 months
For optimal freshness, store in an airtight container and monitor for any signs of spoilage.
Customization Options
While the basic recipe produces excellent results, consider these variations:
- Add finely chopped carrots for extra vitamins
- Incorporate pure pumpkin puree for fiber and moisture
- Include ground flaxseed for omega-3 fatty acids
- Sprinkle in chopped parsley for fresh breath
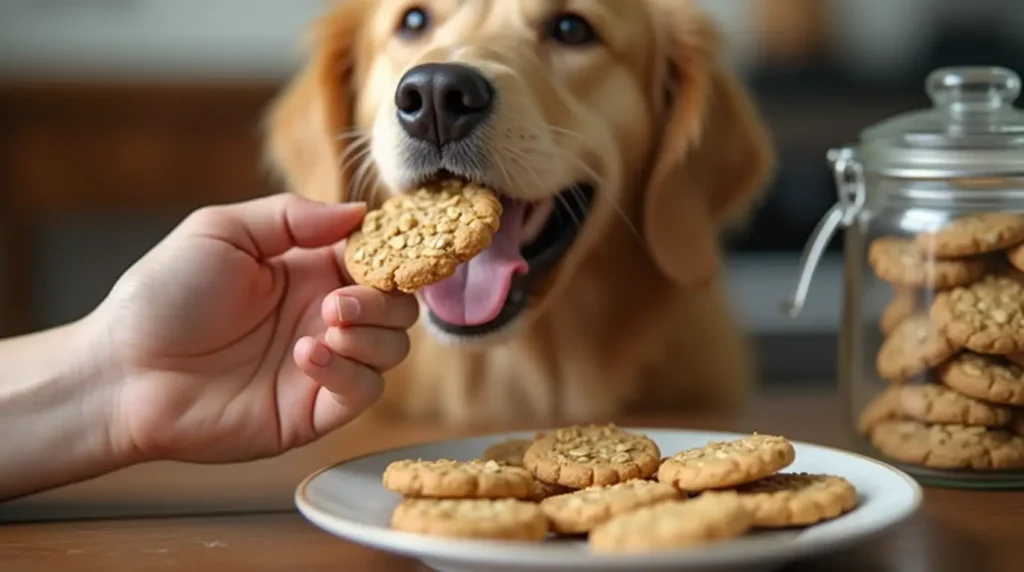
Training Tips Using Homemade Treats
These cookies can be particularly effective for training purposes. Their natural ingredients provide sustained energy without sugar crashes, and their appealing taste maintains your dog’s interest during training sessions. Break larger cookies into smaller pieces for extended training sessions.
Safety Considerations
While these treats are made with dog-safe ingredients, remember:
- Introduce new treats gradually to prevent digestive upset
- Monitor portion sizes to maintain healthy weight
- Ensure peanut butter is xylitol-free
- Consider any known allergies your dog may have
Cost Analysis and Value
Making homemade dog treats typically proves more economical than purchasing premium commercial alternatives. A single batch yields approximately 24-30 cookies, depending on size, at roughly one-third the cost of comparable store-bought natural treats.
Environmental Impact
By creating homemade treats, you reduce packaging waste and support sustainable practices. Using simple, whole ingredients minimizes the environmental impact associated with processed pet foods and their transportation.
Frequently Asked Questions
Can I make these peanut butter oat dog cookies without eggs for a vegan alternative?
Yes, you can substitute the egg with 1/4 cup of unsweetened applesauce or a commercial egg replacer suitable for dogs. However, note that the texture may be slightly different, and you might need to adjust the baking time by 2-3 minutes. Always consult with your veterinarian before making significant changes to your dog’s treats, especially if they have specific dietary requirements.
How do I know if my dog has a peanut butter allergy?
While peanut butter allergies are relatively rare in dogs, signs to watch for include excessive itching, redness or swelling around the face, digestive upset, or difficulty breathing after consumption. Start with a tiny amount when introducing these treats, and monitor your dog for any adverse reactions. If you notice any concerning symptoms, discontinue use immediately and consult your veterinarian.
Can I add supplements like glucosamine or fish oil to these dog cookies?
Yes, you can enhance these treats with pet-specific supplements, but it’s crucial to follow proper dosing guidelines. For powder supplements, mix them into the wet ingredients before adding the oat flour. For liquid supplements like fish oil, reduce the peanut butter slightly to maintain the proper consistency. Always ensure any supplements are specifically formulated for dogs and consult with your veterinarian about appropriate dosages for your pet’s size and needs.
Recipe Card Summary
- Prep Time: 15 minutes
- Cook Time: 15-18 minutes
- Total Time: 30-35 minutes
- Yield: 24-30 cookies (depending on size)
- Storage: Up to 2 weeks refrigerated
These homemade peanut butter oat dog cookies demonstrate that healthy, natural treats don’t require complicated recipes or expensive ingredients. With just four simple components, you can create nutritious rewards that support your dog’s health while providing an enjoyable treat experience. Start baking these wholesome treats today and watch your furry friend’s tail wag with delight!
Tried This Recipe? Leave Your Review!
There are no reviews yet. Be the first one to write one.