
The Ultimate Guide to Dutch Oven Recipes: From Classic to Contemporary
Table of Contents
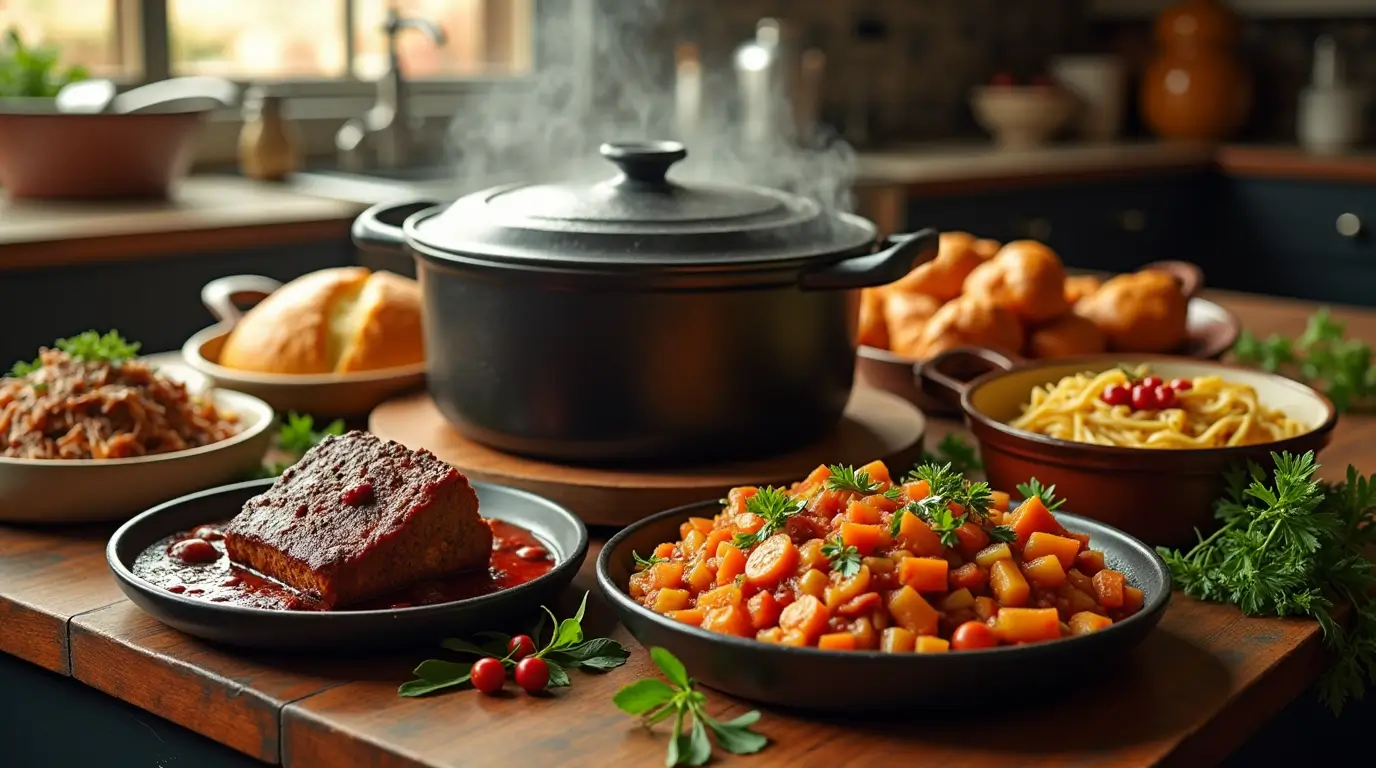
Imagine pulling a perfectly crusted loaf of bread from your Dutch oven, its aroma filling your kitchen with the promise of homemade goodness. From succulent braised meats to hearty stews that warm the soul, Dutch oven recipes have been the secret weapon of skilled home cooks for centuries.
Whether you’re simmering a family-size batch of classic beef bourguignon or experimenting with modern one-pot Dutch oven meals, this versatile cookware transforms simple ingredients into extraordinary dishes. As more home cooks discover the magic of Dutch oven cooking, we’ve crafted this comprehensive guide to help you master everything from traditional Dutch oven recipes to contemporary culinary innovations. Not only will this guide walk you through essential Dutch oven techniques, but it also provides carefully tested recipes developed in real home kitchens. Let’s explore how to make the most of this timeless kitchen essential.
Understanding Your Dutch Oven
The mastery of Dutch oven cooking begins with understanding the unique properties of this exceptional cookware. A Dutch oven represents centuries of culinary evolution, combining traditional cast-iron durability with modern enameled convenience. These heavy-bottomed pots create the perfect environment for transforming simple ingredients into extraordinary dishes through their superior heat distribution and retention capabilities.
What sets a Dutch oven apart is its versatility across cooking methods. The thick walls and tight-fitting lid work together to create a miniature cooking environment that maintains consistent temperature and moisture levels. This unique design allows for everything from the high-heat searing of meats to the gentle simmering of delicate sauces. Professional chefs particularly value Dutch ovens for their ability to develop complex flavors through techniques like braising and slow-cooking, where the steady, even heat transforms tough cuts of meat into tender, flavorful dishes.
The construction of a quality Dutch oven also plays a crucial role in its performance. The best models feature multiple layers of enamel coating over high-grade cast iron, creating a surface that’s both non-reactive and naturally non-stick when properly heated. This combination allows cooks to develop fond (those flavorful browned bits) while preventing unwanted sticking and making cleanup significantly easier.
Choosing the Right Size
The size of your Dutch oven significantly impacts your cooking capabilities. Here’s how to choose the perfect size for your needs:
- 3-4 quart: Ideal for couples or small families (2-4 servings)
- 5-6 quart: Perfect for families (4-6 servings), most versatile size
- 7-8 quart: Great for large families or batch cooking (6-8 servings)
- 9+ quart: Best for entertaining or commercial use
Consider your typical cooking needs—while larger pots offer more versatility, they’re heavier and require more storage space. For most home cooks, a 5-6 quart Dutch oven provides the optimal balance of capacity and convenience.
Temperature Guidelines
Temperature control is crucial for Dutch oven cooking success. Here’s your comprehensive temperature guide:
Stovetop Settings:
- Low: 200-250°F (93-121°C) – Perfect for simmering stocks and delicate sauces
- Medium-Low: 250-300°F (121-149°C) – Ideal for braising and slow cooking
- Medium: 300-350°F (149-177°C) – Best for sautéing vegetables
- Medium-High: 350-400°F (177-204°C) – Great for searing meats
- High: 400-450°F (204-232°C) – Use sparingly for boiling or quick searing
Safety Considerations
When working with Dutch ovens, proper handling is essential for safety:
- Always use thick, dry oven mitts or potholders
- Place hot Dutch ovens on heat-safe surfaces
- Keep handles turned inward on stovetop
- Allow proper ventilation when cooking
- Never put a cold Dutch oven in a hot oven or vice versa
Essential Dutch Oven Recipes
Before diving into specific recipes, it’s important to understand the fundamental techniques that make Dutch oven cooking special. Each recipe in this section has been carefully developed and tested to showcase a different aspect of what makes Dutch oven cooking unique. These recipes build upon each other, teaching essential skills while producing delicious results.
The temperature and timing guidelines provided have been precisely calibrated for optimal results. However, remember that factors like your specific Dutch oven’s heat retention, ambient kitchen temperature, and ingredient variations may require slight adjustments. Learning to read these signals and adjust accordingly is part of mastering Dutch oven cooking.
Classic No-Knead Dutch Oven Bread
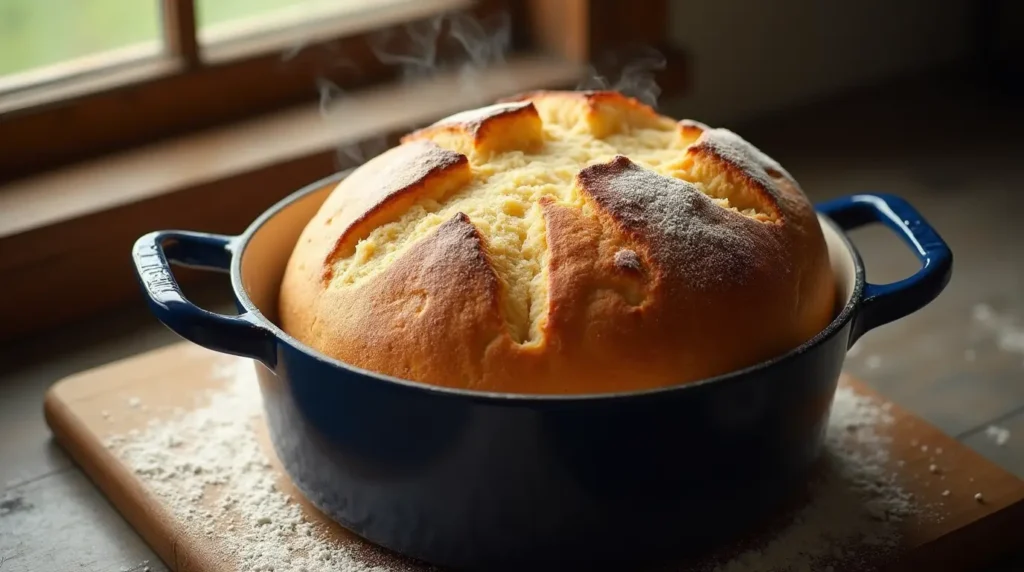
This foolproof bread recipe transforms basic ingredients into a bakery-quality loaf with minimal hands-on time. The Dutch oven creates the perfect environment for developing a crackling crust and tender interior.
Prep Time: 20 minutes Active Work Time: 5 minutes Total Time: 14-20 hours (including rise time) Difficulty Level: Easy Serves: 8-10 (One 1.5-pound loaf)
Ingredients:
- 3 cups (400g) all-purpose flour, plus more for dusting
- 1¼ teaspoons (8g) kosher salt
- ¼ teaspoon (1g) active dry yeast
- 1½ cups (350ml) warm water (70-80°F/21-27°C)
Equipment Needed:
- 5-6 quart Dutch oven
- Large mixing bowl
- Plastic wrap or kitchen towel
- Parchment paper
- Sharp knife or bread lame for scoring
Instructions:
Day 1 – Evening (10-15 minutes):
- In a large mixing bowl, whisk together flour, salt, and yeast until well combined.
- Add warm water and stir with a wooden spoon or spatula until a shaggy, sticky dough forms. The dough will look rough and uneven—this is exactly what you want.
- Cover bowl tightly with plastic wrap or a damp kitchen towel.
- Let dough rest at room temperature (68-72°F/20-22°C) for 12-18 hours. Choose a spot away from drafts.
Day 2 – Morning (5-10 minutes):
- Dough is ready when its surface is dotted with bubbles and it has doubled in size.
- Lightly flour a work surface. Gently scrape dough onto surface—it will be very sticky.
- Using floured hands, fold dough onto itself 2-3 times to create a rough ball.
- Place dough seam-side down on a piece of parchment paper. Dust top lightly with flour.
- Cover loosely with plastic wrap or a kitchen towel.
- Let rise for 2 hours, until doubled in size again.
Baking (45-50 minutes):
- When dough is nearly done rising, place Dutch oven with lid on in the oven.
- Preheat oven to 450°F (230°C). Heat Dutch oven for at least 30 minutes.
- When ready to bake, carefully remove hot Dutch oven.
- Score top of dough with a sharp knife in an “X” or crosshatch pattern, about ¼-inch deep.
- Using parchment paper as handles, carefully lower dough into hot Dutch oven.
- Cover with lid and bake for 30 minutes.
- Remove lid and bake for an additional 15-20 minutes until bread is deep golden brown.
- Carefully remove bread from Dutch oven and let cool on a wire rack for at least 1 hour before slicing.
Professional Tips:
- Use room temperature ingredients for optimal fermentation
- The longer the first rise (up to 18 hours), the more complex the flavor
- Don’t skip the scoring step—it allows the bread to expand properly
- Judge doneness by color and sound—bread should be dark golden and sound hollow when tapped
- For a softer crust, brush with melted butter right after baking
Troubleshooting:
- If dough is too wet: Add flour 1 tablespoon at a time during folding
- If dough is too dry: Add water 1 teaspoon at a time during initial mixing
- If bread is pale: Increase baking time with lid off
- If bottom is too dark: Place Dutch oven on a higher rack or reduce temperature by 25°F
Storage:
- Store bread at room temperature in a paper bag for up to 3 days
- For longer storage, slice and freeze in an airtight container for up to 3 months
- Refresh day-old bread by heating in a 350°F oven for 5-10 minutes
Variations:
- Add 2 tablespoons rosemary and 1 cup chopped olives for Mediterranean flavor
- Include 1 cup of grated aged cheese for a savory twist
- Mix in 2 tablespoons honey and 1 cup chopped nuts for breakfast bread
Nutritional Information (per slice, 10 slices per loaf):
- Calories: 165
- Protein: 4.5g
- Carbohydrates: 33g
- Fiber: 1.2g
- Sodium: 290mg
Traditional Braised Short Ribs
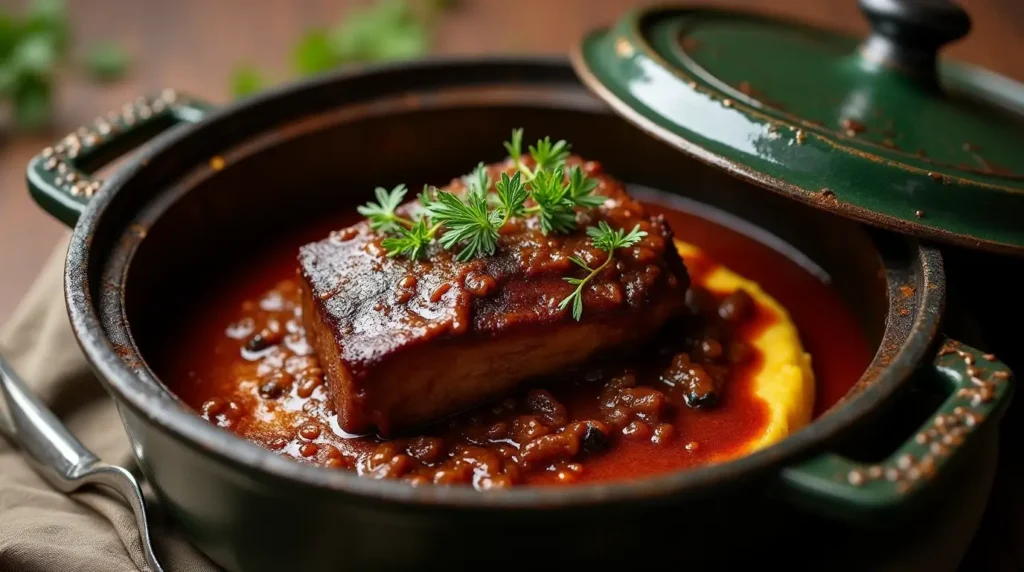
This hearty dish showcases the Dutch oven’s ability to transform tough cuts of meat into tender, flavorful meals through slow cooking.
Prep Time: 30 minutes Cook Time: 2 hours 45 minutes Difficulty Level: Intermediate Serves: 6
Ingredients:
- 4 pounds beef short ribs, cut into 2-inch pieces
- 4 medium carrots, cut into 1-inch pieces
- 2 yellow onions, diced
- 4 garlic cloves, minced
- 2 tablespoons tomato paste
- 3 cups beef stock
- 2 bay leaves
- 4 sprigs fresh thyme
- 2 tablespoons vegetable oil
- 2 tablespoons all-purpose flour
- Salt and freshly ground black pepper
- Fresh parsley for garnish
Instructions:
- Position your oven rack in the lower third and preheat to 325°F (165°C). Pat the short ribs dry with paper towels and season generously with salt and pepper.
- Heat your Dutch oven over medium-high heat. Add vegetable oil and heat until shimmering. Working in batches to avoid crowding, brown the short ribs on all sides until deeply golden, about 8 minutes per batch. Transfer to a plate.
- Reduce heat to medium and add the diced onions to the pot. Cook until softened and beginning to brown, about 5 minutes, scraping up the flavorful browned bits from the bottom of the pot.
- Add garlic and tomato paste, cooking until fragrant, about 1 minute. Sprinkle flour over the vegetables and cook for an additional minute, stirring constantly..
- Add beef stock, bay leaves, and thyme. Return the short ribs to the pot along with any accumulated juices. Bring to a gentle simmer.
- Cover the Dutch oven and transfer to the preheated oven. Cook for 2 to 2½ hours, until the meat is very tender and nearly falling off the bone.
- Remove from oven and transfer the short ribs to a platter. Strain the cooking liquid if desired, and simmer on the stovetop until reduced to your preferred consistency. Season with salt and pepper to taste.
- Return the meat to the sauce, garnish with fresh parsley, and serve hot.
Professional Tips:
- Choose well-marbled short ribs for the best results
- Don’t skip the browning step – it develops essential flavor compounds
- Keep the braising liquid at a gentle simmer, not a boil
- For the most robust flavor, make this dish a day ahead and reheat gently
- Serve over creamy polenta or mashed potatoes to soak up the rich sauce
Make-Ahead Instructions: This dish can be prepared up to 3 days in advance. Cool completely, then refrigerate in the Dutch oven. Remove solidified fat before reheating gently on the stovetop.
Mediterranean One-Pot Pasta
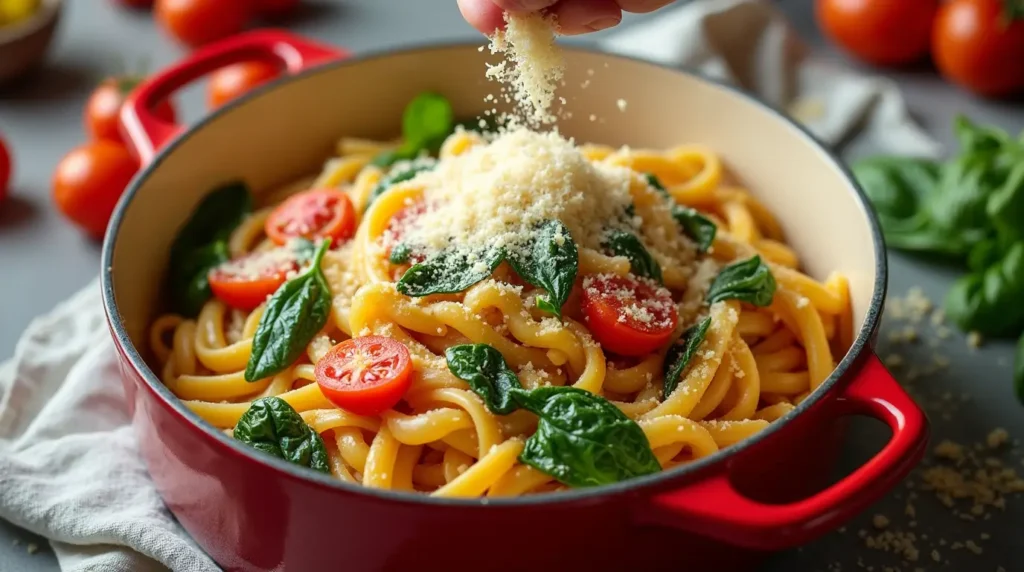
This quick, flavorful dish demonstrates how a Dutch oven can create a complete meal in minimal time with maximum flavor.
Prep Time: 10 minutes Cook Time: 25 minutes Difficulty Level: Easy Serves: 4-6
Ingredients:
- 1 pound (450g) linguine or spaghetti
- 4 cups (950ml) vegetable broth
- 1 pint cherry tomatoes, halved
- 4 cloves garlic, thinly sliced
- 1 medium onion, finely diced
- 2 tablespoons olive oil
- 1 teaspoon red pepper flakes
- 2 cups fresh spinach
- 1/2 cup fresh basil, torn
- 1/2 cup grated Parmesan cheese
- Salt and black pepper to taste
Instructions:
- Place pasta, broth, tomatoes, garlic, onion, olive oil, and red pepper flakes in your Dutch oven.
- Bring to a boil over high heat, then reduce to medium-low.
- Cook for 18-20 minutes, stirring occasionally, until pasta is al dente and liquid has reduced to a creamy sauce.
- Stir in spinach until wilted.
- Remove from heat, add basil and Parmesan.
- Season to taste and serve immediately.
Professional Tips:
- Don’t break the pasta; it will soften and fit as it cooks
- Stir occasionally to prevent sticking
- Reserve some pasta water if needed for adjusting sauce consistency
- For a protein boost, add cooked shrimp or chicken in the final 5 minutes
- The starch from the pasta naturally thickens the sauce—this is the secret to one-pot pasta success
Plant-Based Dutch Oven Creations
Caramelized Fennel and White Bean Cassoulet
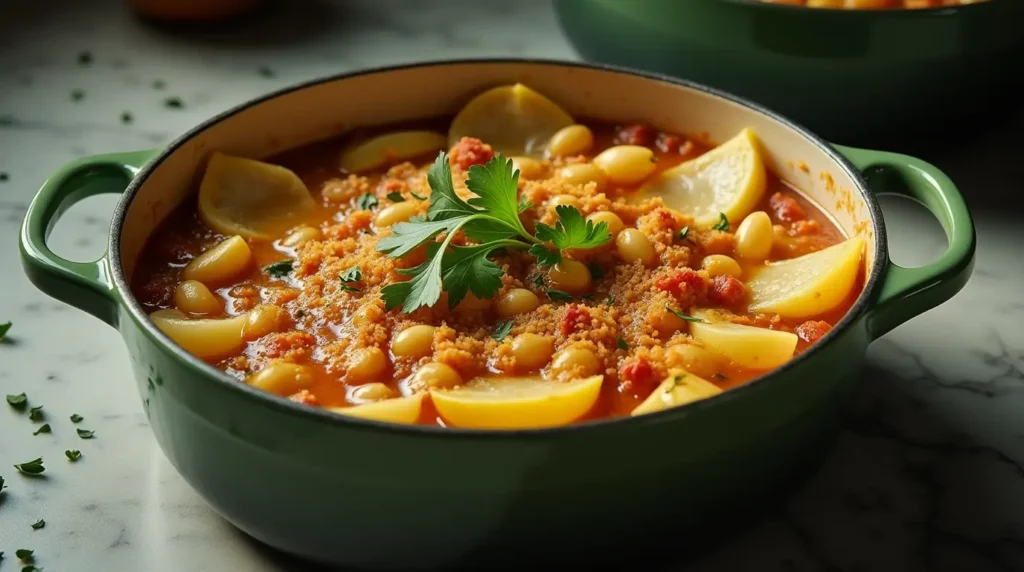
This elegant plant-based interpretation of a French classic demonstrates how vegetable-forward cooking can create deeply satisfying meals.
Prep Time: 25 minutes Cook Time: 1 hour 15 minutes Difficulty Level: Intermediate Serves: 6
Ingredients:
- 3 large fennel bulbs, trimmed and cut into wedges
- 3 cans (15 oz each) cannellini beans, drained and rinsed
- 2 leeks, white and light green parts, sliced
- 4 carrots, cut into 2-inch pieces
- 4 celery stalks, cut into 2-inch pieces
- 6 garlic cloves, thinly sliced
- 2 cups vegetable stock
- 2 tablespoons fresh thyme leaves
- 2 bay leaves
- 1/2 cup panko breadcrumbs
- 3 tablespoons olive oil
- 2 tablespoons fresh parsley, chopped
- Salt and freshly ground black pepper
Instructions:
- Preheat oven to 350°F (175°C). Heat 2 tablespoons olive oil in your Dutch oven over medium-high heat until shimmering.
- Add fennel wedges in a single layer, working in batches if necessary. Cook until deeply caramelized on both sides, about 5-6 minutes per side. Transfer to a plate.
- Reduce heat to medium, add remaining oil to the pot. Add leeks, carrots, and celery. Cook until vegetables begin to soften, about 8 minutes.
- Add garlic and cook until fragrant, about 1 minute. Scraping up any browned bits from the bottom of the pot.
- Add beans, vegetable stock, thyme, and bay leaves. Return caramelized fennel to the pot. Bring to a simmer, season with salt and pepper.
- Cover and transfer to the oven. Cook for 45 minutes, until vegetables are tender.
- Remove from oven, discard bay leaves. Top with breadcrumbs and drizzle with remaining olive oil.
- Return to oven uncovered for 15 minutes until breadcrumbs are golden brown.
- Garnish with fresh parsley and serve hot.
Professional Tips:
- Select firm, unblemished fennel bulbs for best results
- Save fennel fronds for garnish and added flavor
- For a gluten-free version, use crushed toasted nuts instead of breadcrumbs
- The dish can be prepared up to step 6 a day ahead
Nutritional Information:
- Calories: 325 per serving
- Protein: 14g
- Fiber: 12g
- Iron: 20% DV
Autumn Harvest Root Vegetable Stew
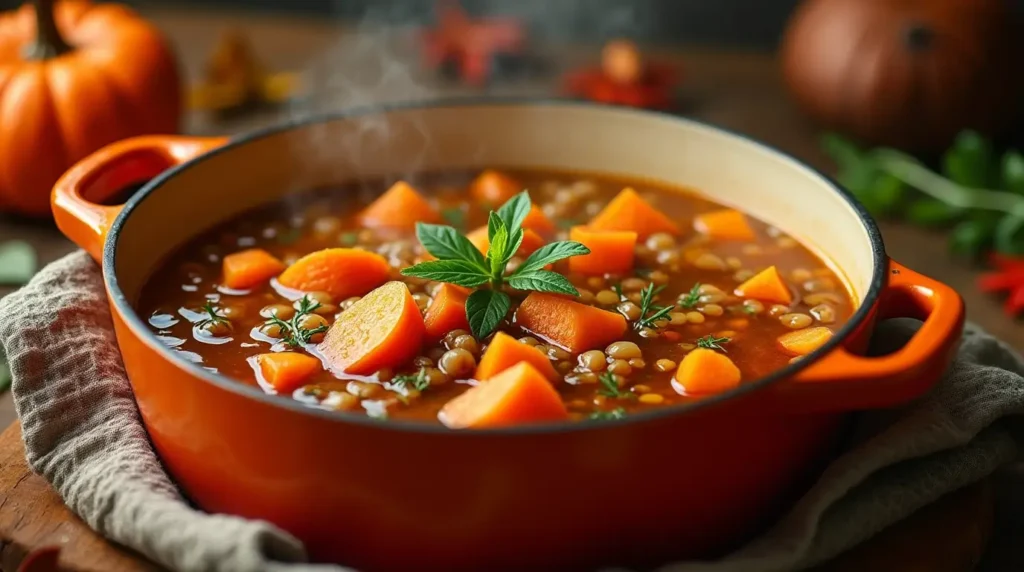
This hearty stew celebrates the natural sweetness of root vegetables, enhanced by slow cooking in a Dutch oven.
Prep Time: 30 minutes Cook Time: 1 hour Difficulty Level: Easy Serves: 6-8
Ingredients:
- 2 sweet potatoes, cut into 1-inch cubes
- 3 parsnips, cut into 1-inch pieces
- 4 carrots, cut into 1-inch pieces
- 2 turnips, cut into 1-inch pieces
- 1 large butternut squash, peeled and cubed
- 2 onions, roughly chopped
- 4 garlic cloves, minced
- 2 tablespoons tomato paste
- 1 can (14 oz) diced tomatoes
- 4 cups vegetable stock
- 2 tablespoons fresh sage, chopped
- 2 tablespoons fresh rosemary, chopped
- 1 tablespoon smoked paprika
- 2 tablespoons olive oil
- 1 cup pearl barley
- Fresh parsley for garnish
- Salt and freshly ground black pepper
Instructions:
- Heat olive oil in Dutch oven over medium heat. Add onions and cook until translucent, about 5 minutes.
- Add garlic and tomato paste, cook until fragrant, about 2 minutes.
- Add all root vegetables and butternut squash. Cook for 5 minutes, stirring occasionally.
- Add smoked paprika, sage, and rosemary. Stir to coat vegetables evenly.
- Pour in diced tomatoes, vegetable stock, and pearl barley. Bring to a simmer.
- Cover and reduce heat to low. Cook for 45-50 minutes, stirring occasionally, until vegetables are tender and barley is cooked.
- Season with salt and pepper to taste. Garnish with fresh parsley.
Professional Tips:
- Cut vegetables in uniform sizes for even cooking
- Use a variety of colorful root vegetables for visual appeal
- For added depth, roast half the vegetables before adding to the stew
- Can be made gluten-free by omitting barley and adding more vegetables
Wine Pairing: A light-bodied red wine such as Pinot Noir or a full-bodied white like Chardonnay complements the earthy flavors of this stew.
Recipe Variations and Adaptations
Each Dutch oven recipe can be customized based on:
- Dietary requirements (gluten-free, dairy-free options)
- Seasonal ingredient availability
- Cooking method preferences (stovetop vs. oven)
- Portion size adjustments
We’ve tested these adaptations to ensure consistent results while maintaining the essence of each dish.
Maintenance and Care: Preserving Your Dutch Oven’s Legacy
Understanding proper maintenance of your Dutch oven is as crucial as mastering cooking techniques. A well-maintained Dutch oven not only performs better but becomes a valuable kitchen heirloom that can be passed down through generations. The key lies in understanding how different cooking methods affect your pot and adapting your care routine accordingly.
Many common Dutch oven issues stem from improper maintenance rather than defects in the cookware itself. By following professional care guidelines and understanding the science behind maintenance practices, you can significantly extend your Dutch oven’s lifespan while maintaining its optimal cooking performance.
Daily Care:
- Allow the pot to cool completely before cleaning
- Use warm water and mild soap for regular cleaning
- Dry thoroughly before storing
- Store in a dry place with the lid slightly ajar
Long-Term Maintenance:
- Deep clean seasonally with baking soda paste
- Inspect enamel coating regularly
- Use wooden or silicone utensils to prevent scratching
- Apply mineral oil to exposed cast iron
Troubleshooting Common Dutch Oven Issues
Prevention is better than cure. Here are solutions to common Dutch oven challenges:
- Burnt Bottom Prevention:
- Use a heat diffuser on stovetop
- Maintain proper liquid levels
- Adjust heat as needed during cooking
- Sticking Solutions:
- Preheat properly before adding ingredients
- Use sufficient oil or liquid
- Deglaze stuck bits with wine or broth
- Temperature Management:
- Use lower heat than conventional cooking
- Allow proper preheating time
- Account for residual heat
Conversion Charts
Volume Conversions
1 cup = 240ml 1 quart = 0.95 liters 1 gallon = 3.8 liters
Temperature Conversions
Fahrenheit to Celsius: (°F – 32) × 5/9 = °C Celsius to Fahrenheit: (°C × 9/5) + 32 = °F
Frequently Asked Questions
Can I use my Dutch oven on an induction cooktop?
Yes, enameled cast iron Dutch ovens are fully compatible with induction cooktops. The cast iron core works perfectly with induction heating technology. However, always place your Dutch oven carefully on the surface to avoid scratching, and ensure the base is completely dry before use to prevent any sliding.
How do I prevent my Dutch oven recipes from drying out during long cooking times?
The key to maintaining moisture in Dutch oven recipes lies in the liquid-to-ingredient ratio and proper lid sealing. For long-cooking dishes, ensure your liquid covers about 2/3 of your ingredients, and consider placing a piece of parchment paper under the lid to create an extra-tight seal. Check the liquid levels every hour during cooking, adding warm—never cold—liquid as needed to maintain the proper level.
What’s the best way to cook frozen meat in a Dutch oven?
While it’s always best to thaw meat before cooking, you can cook frozen meat in your Dutch oven with some modifications. Add 50% more cooking time to your recipe, ensure the meat is completely submerged in liquid, and maintain a consistent medium-low temperature. However, note that you won’t achieve the same level of browning and caramelization as you would with thawed meat, so thawing beforehand is still recommended for optimal results.
How do I adapt regular recipes for Dutch oven cooking?
When adapting regular recipes for Dutch oven cooking, reduce the liquid amount by about 25% since Dutch ovens retain moisture better than conventional cookware. Adjust cooking temperatures down by 25°F from the original recipe, and expect cooking times to be slightly longer due to the heavy construction of the pot.
What’s the best way to clean stubborn stains from my enameled Dutch oven?
For stubborn stains, create a paste with baking soda and water, apply it to the stained areas, and let it sit for 15-20 minutes. Gently scrub with a non-abrasive sponge, then rinse thoroughly. For extremely tough stains, simmer a solution of water and baking soda in the Dutch oven for 15-20 minutes, then wash as usual.
Mastering the Art of Dutch Oven Cooking: A Culinary Journey
The true beauty of Dutch oven cooking lies not just in its versatility and reliability, but in how it connects us to centuries of culinary tradition while remaining perfectly suited for modern cooking needs. As you progress through the techniques and Dutch oven recipes shared in this guide, you’ll develop an intuitive understanding of how this remarkable cookware responds to different ingredients, temperatures, and cooking methods.
Professional chefs often say that a Dutch oven becomes an extension of the cook’s culinary instincts. This connection develops through practice, observation, and the gradual mastery of fundamental techniques. Each dish you prepare adds to your understanding, building confidence and creativity in your cooking journey.
The Dutch oven recipes and techniques presented here serve as a foundation, but they’re also an invitation to explore and experiment. As you become more comfortable with your Dutch oven, you’ll discover how to adapt family recipes, create new combinations, and develop your own signature dishes. The possibilities are limitless, bounded only by your culinary imagination.
Remember that every great cook started as a beginner. Take your time to understand each technique, observe how your Dutch oven responds to different cooking methods, and most importantly, enjoy the process of creating delicious, memorable meals. Your Dutch oven is more than just cookware—it’s a partner in your culinary adventures, ready to help you create everything from simple comfort food to sophisticated gourmet dishes.
We encourage you to share your experiences, successes, and even learning moments in the comments below. Join our community of Dutch oven enthusiasts and become part of a tradition that spans generations of home cooks and professional chefs alike.
Join Our Dutch Oven Cooking Community
Your journey into Dutch oven cooking doesn’t end here. We invite you to become part of our growing community of passionate home cooks and culinary enthusiasts. Share your experiences, discover new techniques, and connect with fellow Dutch oven aficionados.
Start Your Culinary Adventure
Begin your Dutch oven journey today by downloading our complementary meal planning guide. This carefully curated resource includes a four-week progression plan, shopping lists, and exclusive tips from professional chefs. Simply enter your email below to receive your copy and join our monthly newsletter featuring seasonal Dutch oven recipes, expert advice, and exclusive cooking techniques.
Share Your Creations
We believe every dish tells a story. Have you tried one of our Dutch oven recipes or developed your own Dutch oven creation? Share your experience in the comments below or tag us on social media using #DutchOvenMastery. Each month, we feature the most inspiring dishes from our community members, complete with their tips and adaptations.
Get Personalized Guidance
Looking for specific advice on your Dutch oven cooking journey? Join our private Facebook group where our team of experienced cooks provides personalized guidance, troubleshooting tips, and answers to all your Dutch oven questions. Plus, get early access to new recipes and exclusive cooking workshops.
Stay Connected
Don’t miss out on our latest Dutch oven recipes and techniques:
- Follow us on Instagram for daily inspiration and cooking videos
- Join our Facebook community for live cooking demonstrations
Ready to take your Dutch oven cooking to the next level? Click below to download your free meal planning guide and join our community of passionate home cooks.
Tried This Recipe? Leave Your Review!
There are no reviews yet. Be the first one to write one.